
Interior
Popcorn Ceiling Repair – Ceiling Water Damage?
We got an emergency call about an upstairs toilet that was leaking into the ceiling below. The homeowner had recently installed new vinyl flooring and reused the toilet's original wax seal – a common mistake that let water seep past the base and travel down into the drywall. Here's how we tracked down the leak and repaired the ceiling underneath.
Fixing the leak first
Before touching the ceiling, we had to solve the source of the problem. The new vinyl flooring had raised the floor height just enough that a standard 2 inch wax gasket could no longer form a proper seal around the toilet flange. We measured the gap between the vinyl surface and the waste flange and swapped in a jumbo 4 inch wax ring from the local Home Depot to close it properly.
Assessing the water damage
With the leak fixed, we opened up the ceiling below to see how far the water had travelled. Water doesn't stay put – it follows studs, joists, and drywall paper, so it's worth checking further than the visibly stained area. In this case we got lucky: the damage had stayed contained to a small section. If we'd found water tracking down a stud or across a drywall panel, we'd have needed to cut that section out too. Left alone, water-damaged drywall can grow mould that doesn't show up right away, so it's worth dealing with as soon as you're already into a ceiling repair.
A note on asbestos
One thing worth flagging for anyone tackling an older popcorn ceiling: textured ceilings applied before the early 1990s in Canada can contain asbestos. If your home was built or renovated before then, it's worth having a sample tested before cutting into or sanding the ceiling. The section we repaired here was newer drywall, but it's a precaution we'd recommend to any homeowner before starting their own popcorn ceiling project.
Cutting back to dry drywall
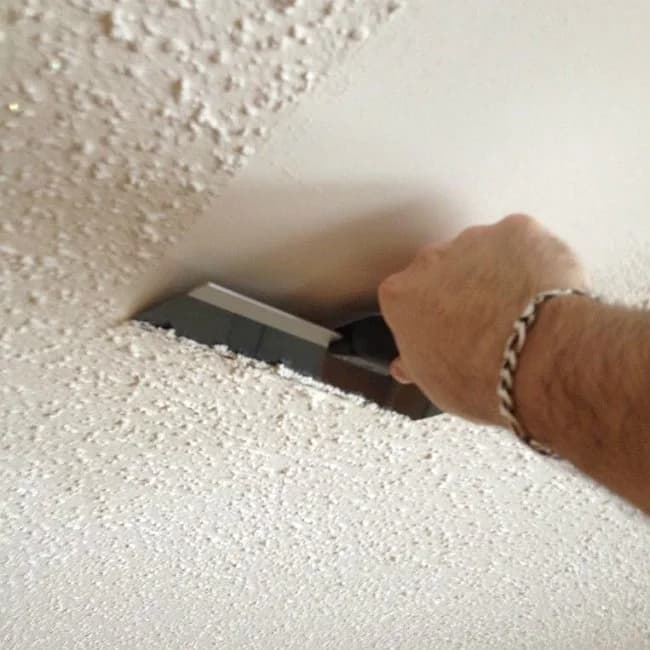
We cut away the damaged drywall back to the dry points, squaring off a clean rectangle so the new patch would sit flush and be easy to tape and mud. Once the new drywall was in and the seams were finished, it was ready for texture.
Matching the popcorn texture
For a patch just a few inches across, a spray-can texture match would have done the job. This one was closer to 4 square feet, so we used a textured ceiling paint instead, also picked up from Home Depot. If you're matching texture yourself: apply it like paint, but dab it onto the surface in layers rather than rolling it flat, and plan to paint over it fairly soon – this particular product dries with a yellowish tint that won't match your ceiling if left bare too long.
Once painted, the patch blended in seamlessly with the surrounding ceiling. The client was pleased with the result – a repair that was cost-effective in both materials and labour, with no sign a leak had ever happened.
Popcorn ceiling repair FAQ
- Do I need to test for asbestos before repairing my popcorn ceiling?
- If your home was built or last had the ceiling textured before the early 1990s, yes — testing a sample before cutting or sanding is a real precaution, not a formality. Newer drywall and texture applied since then is not a concern.
- Can you match my existing popcorn texture?
- For small patches, a spray-can texture match is usually enough. For larger areas — a few square feet or more — we use a textured ceiling paint applied by hand for a closer match, then paint over it once it's fully cured.
- What usually causes ceiling water damage under a bathroom?
- A failed wax ring at the toilet base is one of the most common causes, especially after new flooring is installed and raises the floor height enough that the original wax seal no longer forms a proper seal. Failed shower pans and slow supply-line leaks are the other frequent culprits.
Next Step
Dealing with ceiling water damage?
Get in touch and we'll assess the damage and plan the repair before mould sets in.